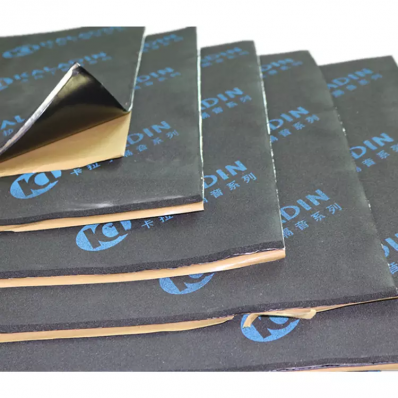
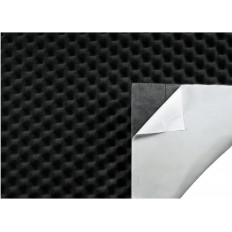
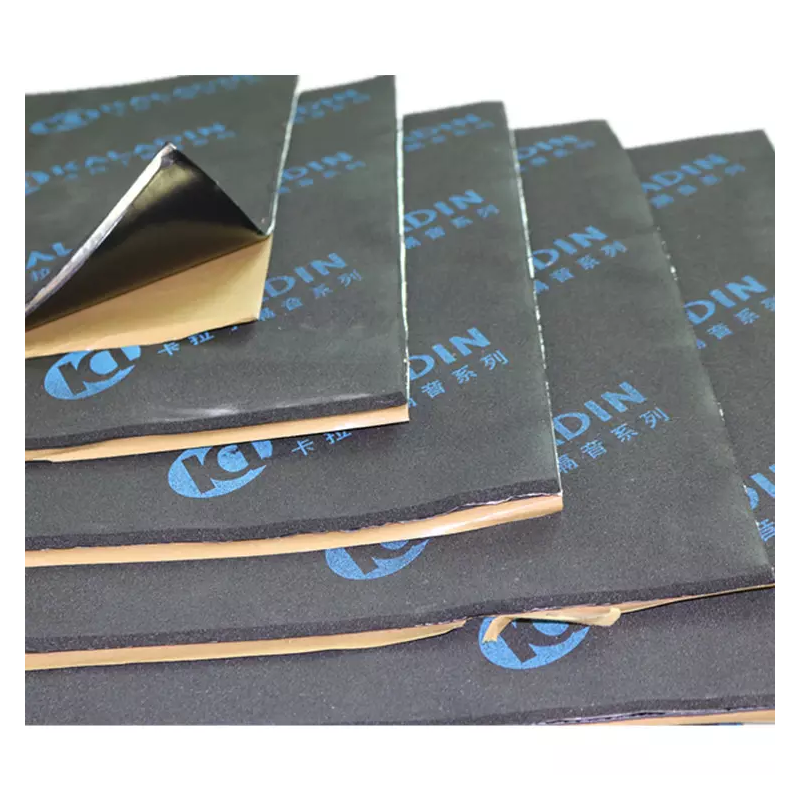
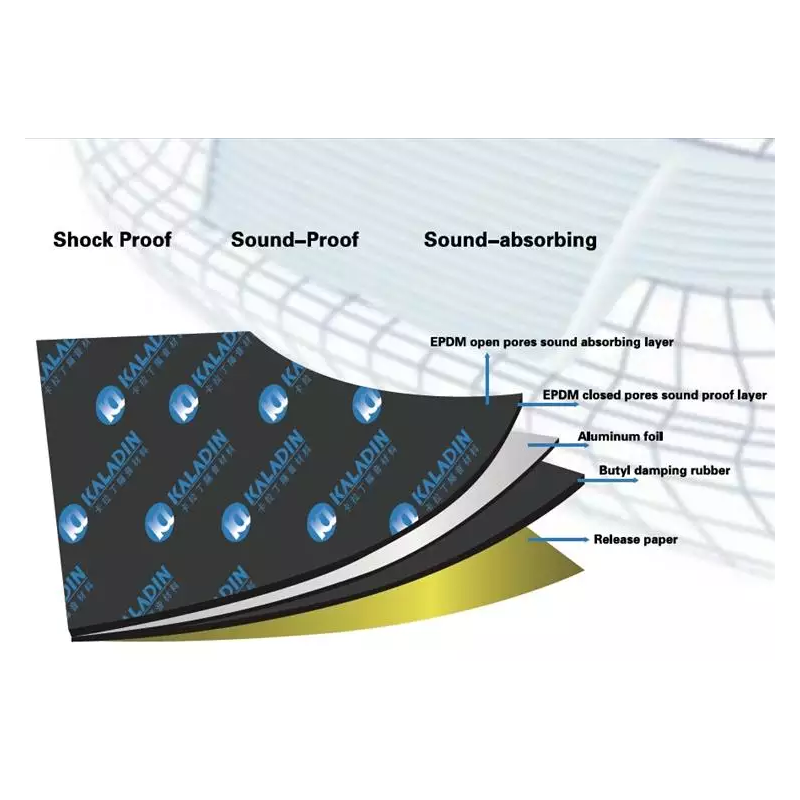
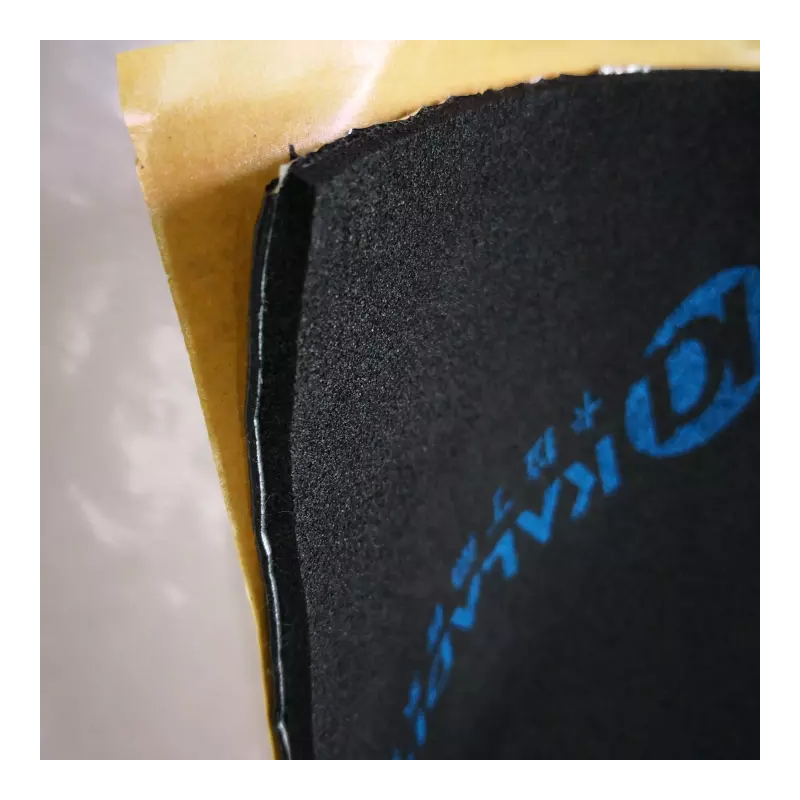
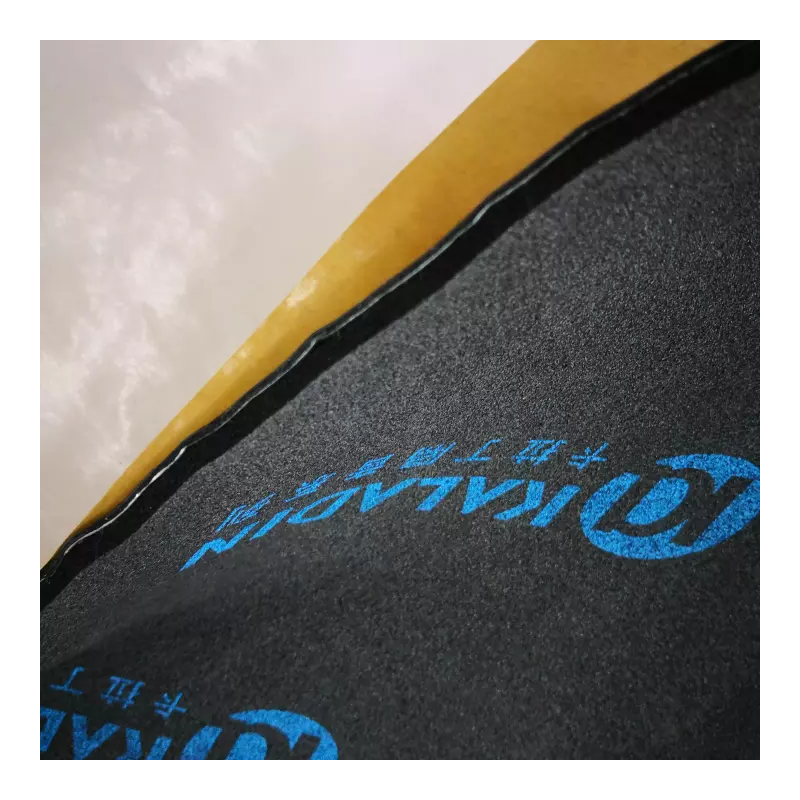
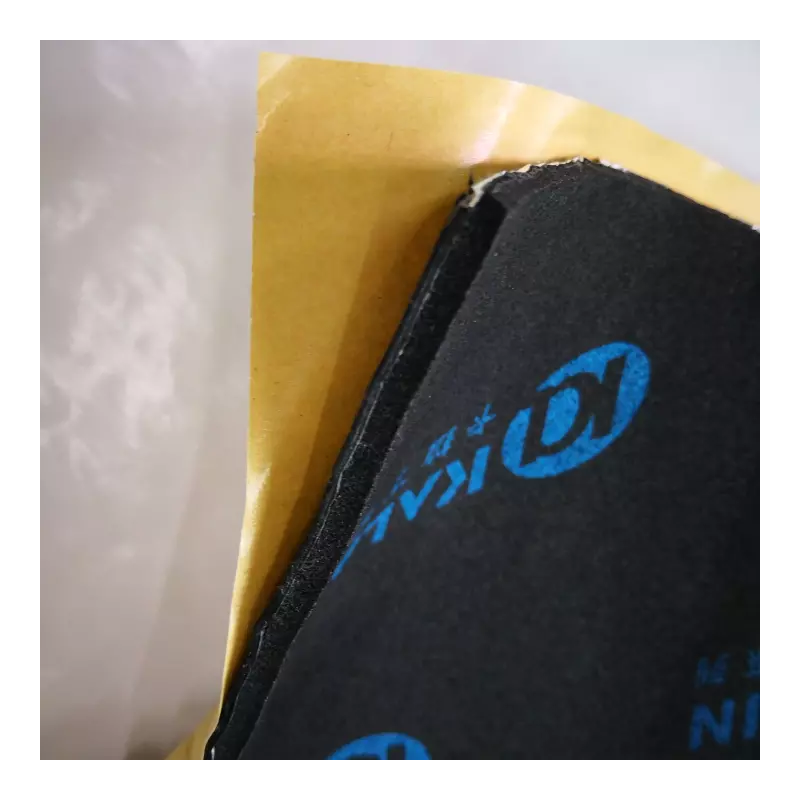
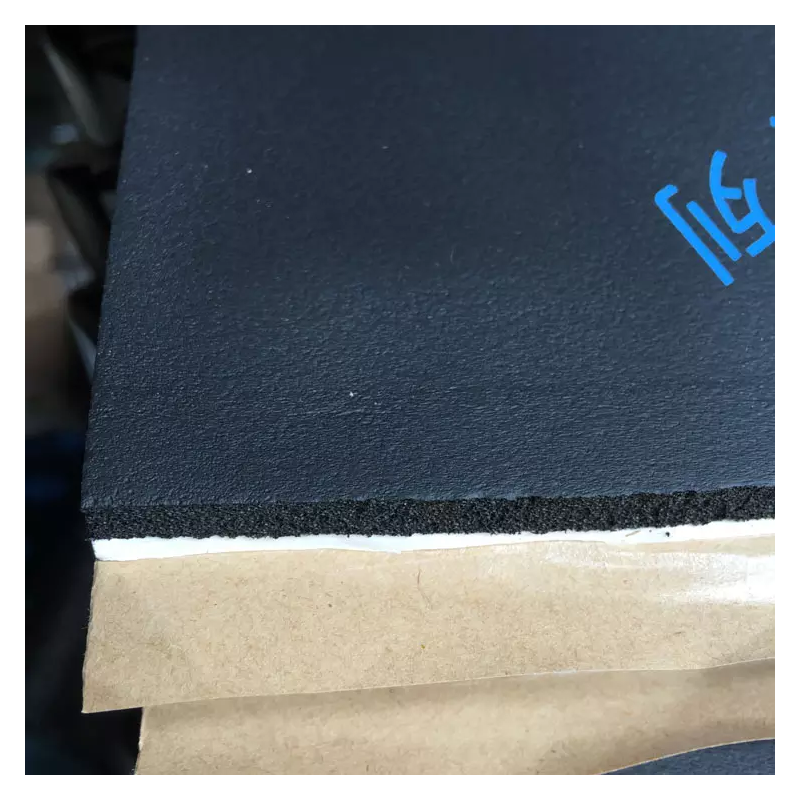
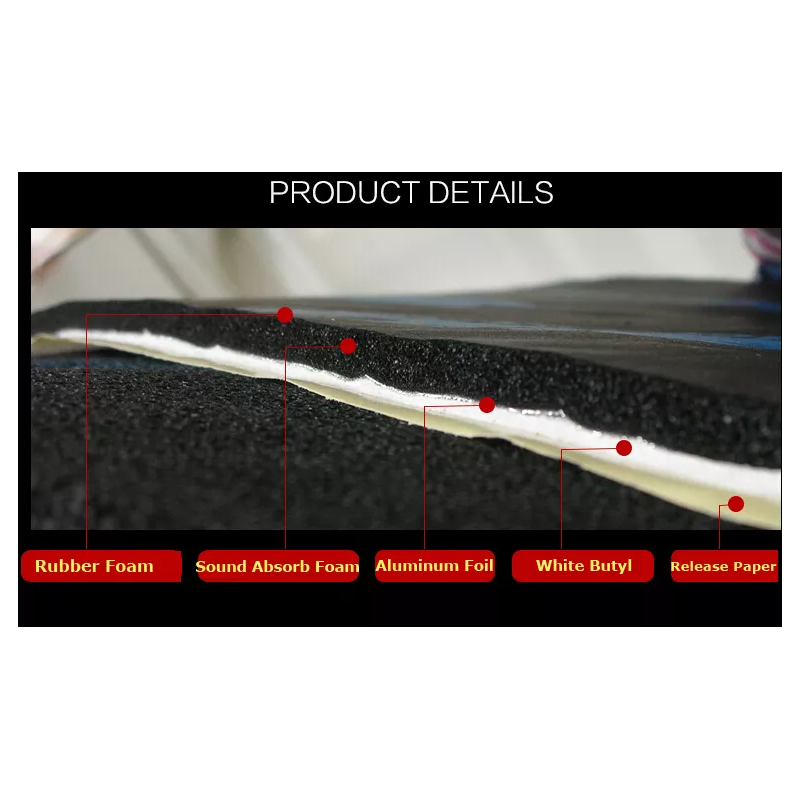
Product thickness: 2mm butyl rubber + 5mm Foam + 100um aluminum sheet = 7mm
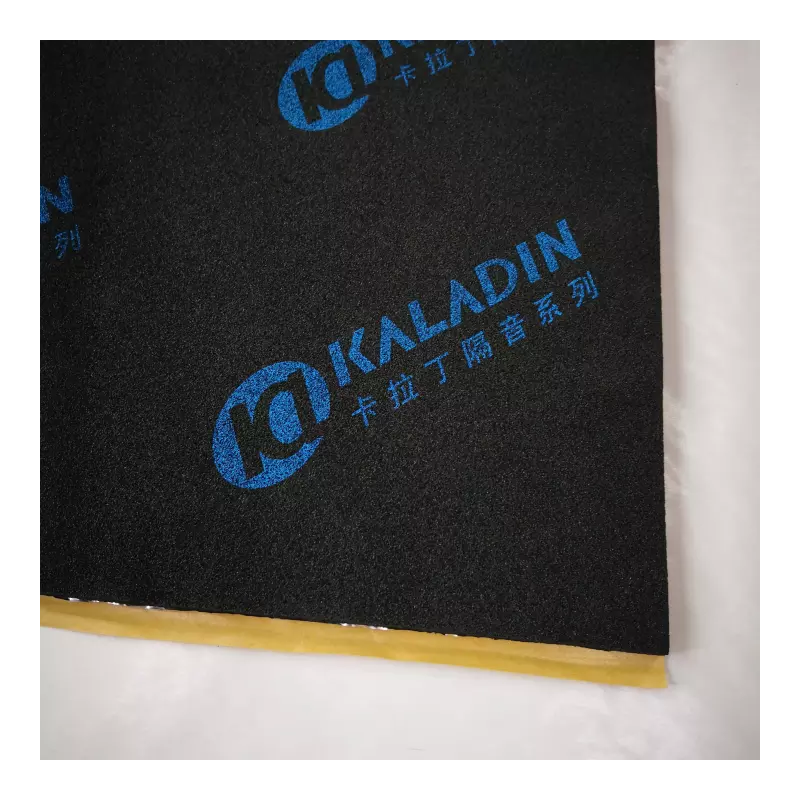
The product comes with three in one, vibration absorption, sound insulation and sound absorption, can reduce noise efficiently.
Sound absorption, sound insulation and shock absorption are effectively combined with superior thermal insulation performance.
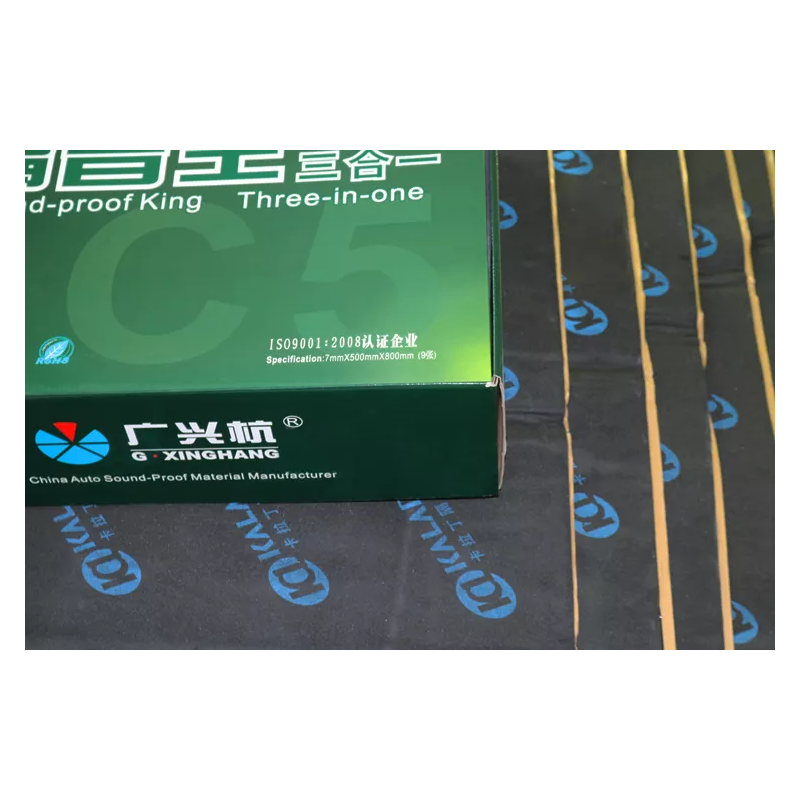
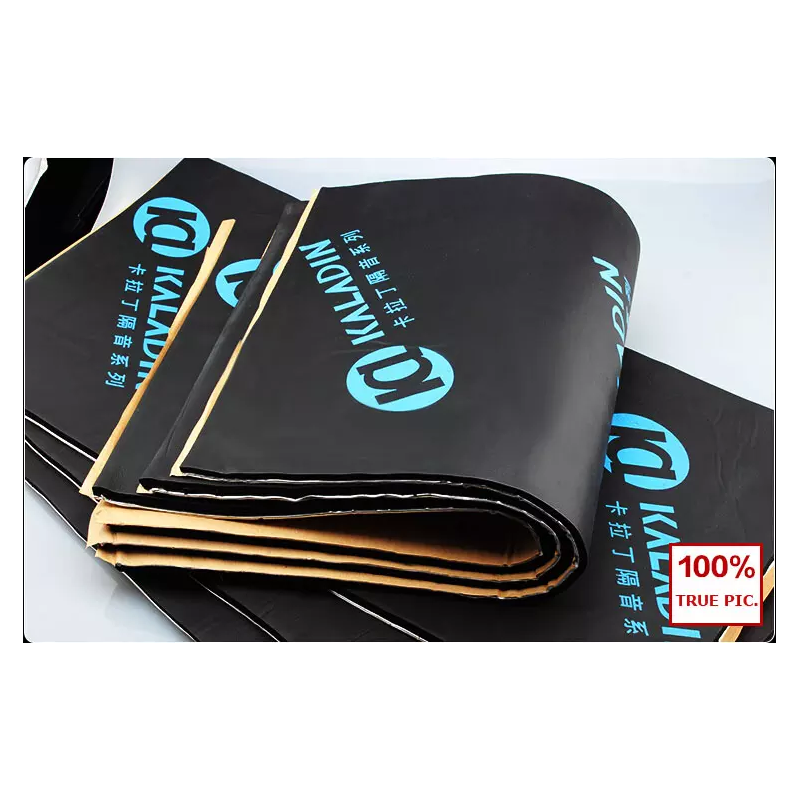
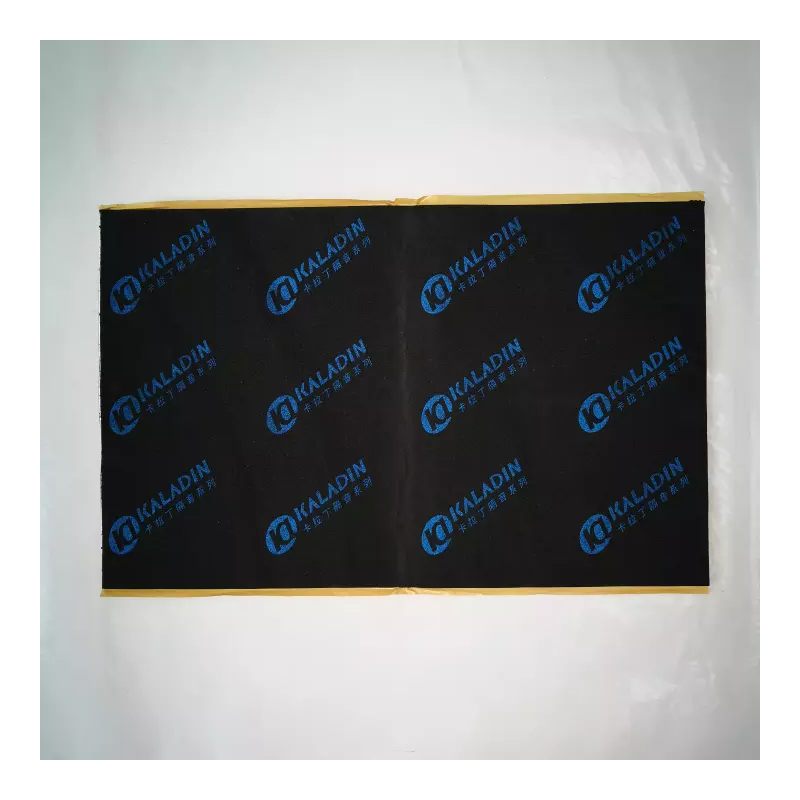
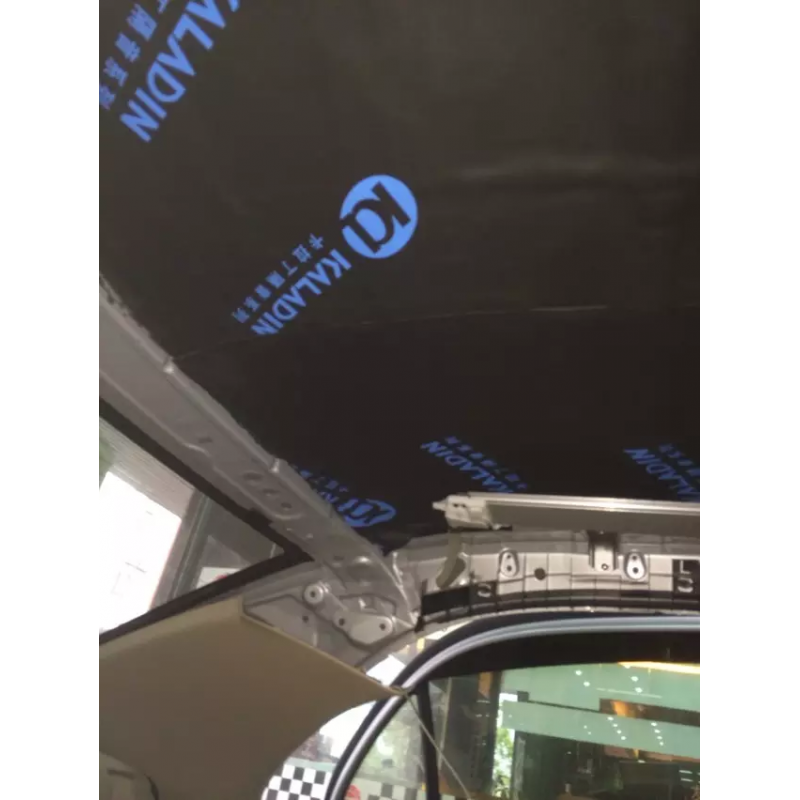
It is widely used in the roof, door, floor and trunk, etc.
This product eliminates vibrations, reduces general and pertu noisesound rbations of the vehicle for greater comfort. It also improves the sound quality of your stereo system.
ATTENTION!
- Wear gloves to protect your hands when working with the product.
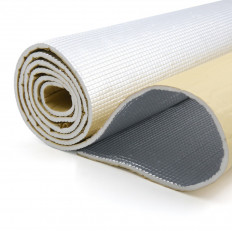
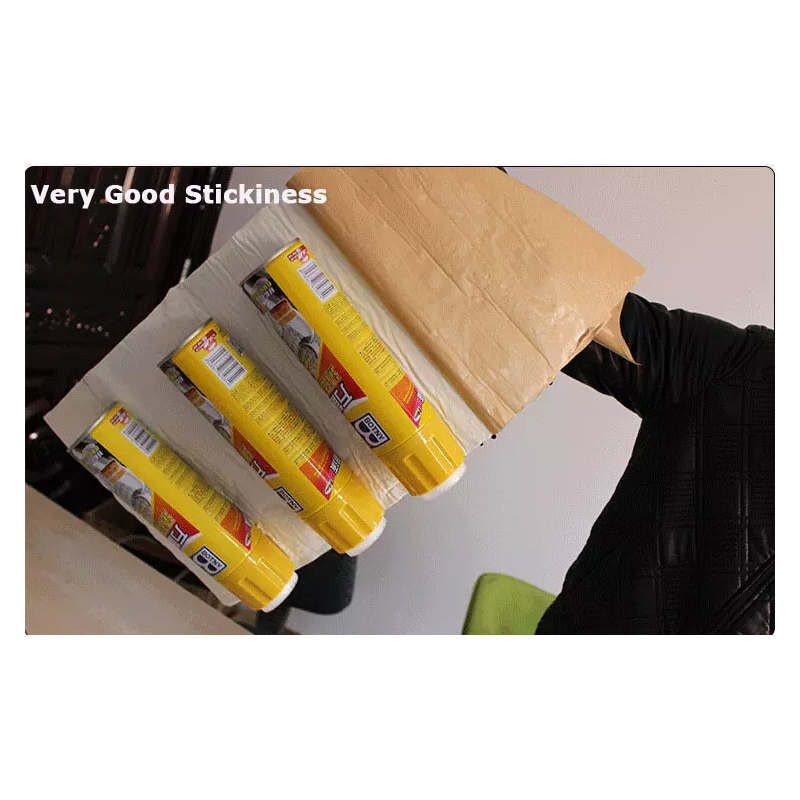
- Correct application of the product is 50% of your car's successful sound insulation success. Press the product along the previously cleaned and carefully degreased surface using a roller. The special corrugation on the sheet is made for convenience of application so that you can see the areas that have been pressed with a roller correctly and those that require more pressing.
APPLICATION
Read the instructions for use carefully until the end. It is important to know all the details as the sound insulation efficiency does not only depend on the material used, but above all it is a consequence of a correct application. Please note that the wrong application may cause unwanted results or no effect.
STEP 1
Decide which part of the car you want to isolate first: floor, roof, doors, trunk or engine compartment. The treatment of each metal part of the machine has its own exclusive contribution to the overall result. That said, it is recommendedensure that all metal parts are soundproofed for maximum performance. Next, find the owner's manual for your vehicle and focus on the part that explains how to remove the interior trim panels. You should be careful when removing them so as not to break the fasteners. This information can also be found on a related automotive forum.
STEP 2
Remove the residues of the factory insulation when the covering has been disassembled. It is only necessary to do this if the factory insulation is damaged or incorrectly fixed. You can leave it there if it is still in good condition. The next step is to thoroughly clean, dry and degrease the application surface. Sound insulation does not adhere properly and may not last long if applied to wet or dirty surfaces. Use a degreaser and a dry, clean cloth for this purpose. It is also advisable to wear gloves and to ventilate the room from time to time while working. * Test the degreaser on a small area before using it on plastic parts or painted parts.
STEP 3
Once step 2 is complete, measure the application surface. First we suggest making an appropriately sized modelon a sheet of paper and then transfer it to the sound insulation. This will help to position it precisely to avoid wasting material. Use the appropriate utility knife or scissors to cut a shape to the desired size. Be careful and wear gloves to protect your hands.
STEP 4
Next, place the sound insulation on the surface without removing the protective film. Make sure the surface is well covered. Now is the time to remove the protective paper film but don't pull it all straight away, do it gradually for better adhesion. Once applied to the surface, press the sheet to make it adhere. Flatten the sheet with your hands to avoid air bubbles between the insulation and the metal surface. Use a roller to press the sheet to adhere it to a metal surface. The sheet with the wavy parts and ribs on the matte surface allows you to see the points that require more pressing. The sheet must be pressed with a roller until it is smooth and flat, which means that it has been applied correctly.


