VOID Labels & Tapes — practical guide to use and selection
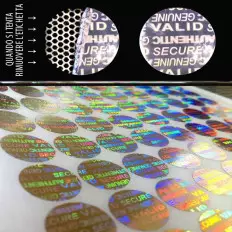
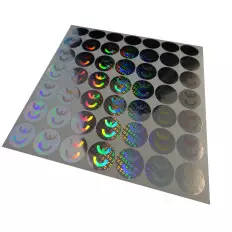
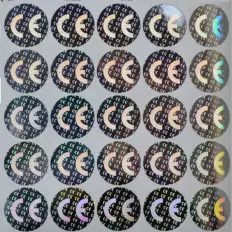
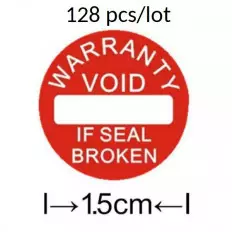
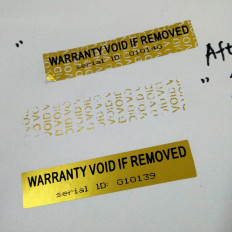
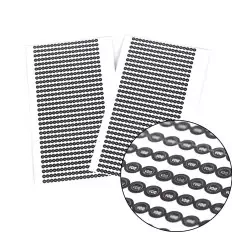
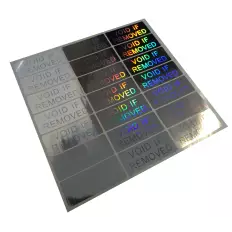
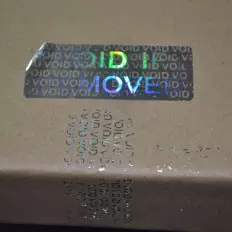
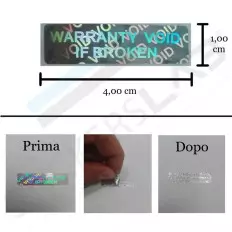
VOID (tamper-evident) solutions make any opening attempt visible: when removed, a message (e.g. “OPENED/VOID”) appears and cannot be reapplied without traces. Below you’ll find quick instructions to pick the right format and apply it flawlessly for shipping, returns, electronics, retail and DIY.
Which VOID to choose?
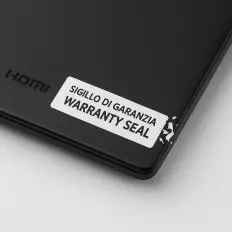
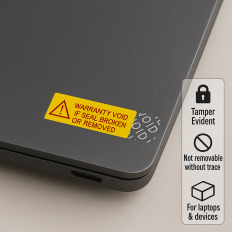
- VOID no-residue: leaves no glue on the product; ideal for electronics, delicate or visible surfaces. Tamper proof on the seal, clean surface underneath.
- VOID partial/total transfer: part or all graphics transfer onto the surface; perfect for packaging, cases, hatches when you need an evident trace on the substrate.
- VOID security tape for parcels: replaces/supplements standard packing tape; upon reopening, the security message appears along the entire seam. Recommended for shipping & logistics.
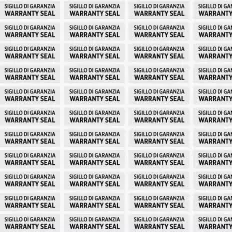
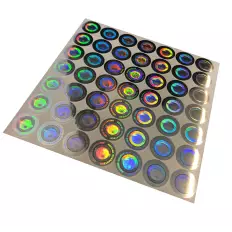
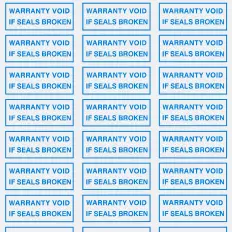
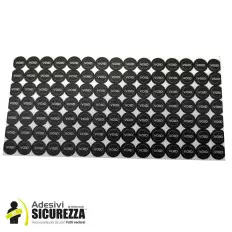
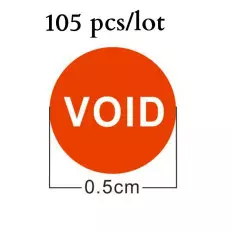
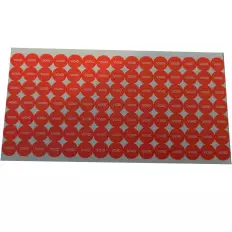
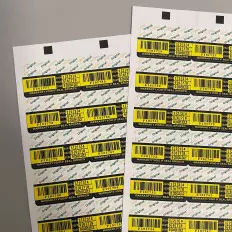
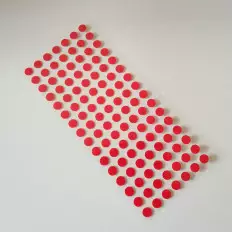
- Formats: pre-die-cut labels (fast, consistent) or continuous roll/tape (wide coverage, customisable width).
Surface compatibility
Best adhesion on smooth, clean surfaces (metal, glass, uniform coatings). On low-energy plastics (PP, PE) consider high-tack versions or a primer. Avoid dusty/greasy areas and micro-textures that reduce contact.
How to apply (5-step SOP)
- Clean and dry the area (no dust/oil/silicones).
- Position the label/tape across the opening line (joints, flaps, screws).
- Even pressure for 3–5 s, paying attention to edges.
- Bond time: wait a few minutes before handling (max tamper evidence at removal).
- Test: trial on 2–3 samples of the same surface to verify transfer and message legibility.
Quick selection by use case
- Shipping/Returns: VOID tape along the seam + a VOID label bridging the flaps.
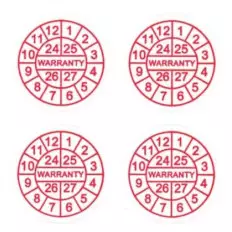
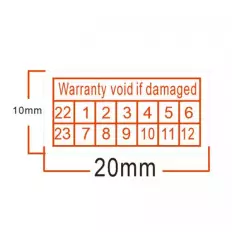
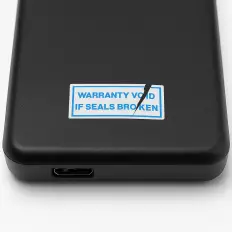
- Devices/Warranty: VOID no-residue on screws/lids (no residue on the product).
- Lockers/Doors: partial/total transfer for a clear trace on the surface.
- DIY/Artisanal: pre-cut labels for jars/kits; clear message = customer trust.
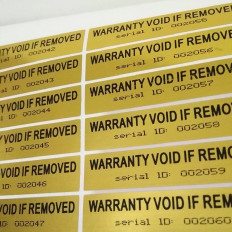
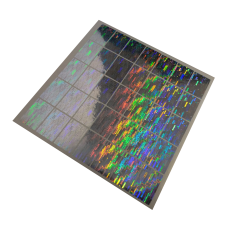
Customisation & traceability
Sequential numbering, QR/barcode, multilingual text and colours/icons boost deterrence and control. For audits: record lot, first–last numbers and operator; optional photo of the applied seal.
FAQs
- Do they damage the product? With no-residue the surface stays clean; use partial/total transfer only where you accept the message transfer.
- Do they withstand cold/humidity? Yes, within each material’s range; choose specific versions for cold rooms/outdoors.
- Can I reposition them? No: attempts leave traces. If repositioning is needed, run trials before full batches.
Common mistakes to avoid
- Not crossing the seam: if it doesn’t span the opening point, evidence weakens.
- Dirty/porous surfaces: reduce adhesion/message readability.
- Format too small: cover the whole critical area, especially on parcels.
- Wrong type choice: no-residue on rough cardboard = weak effect; avoid total transfer on delicate surfaces.
Usage rule: define the surface, the evidence level (no-residue vs transfer) and the coverage (label vs tape). A quick test today prevents issues on 100 shipments tomorrow.