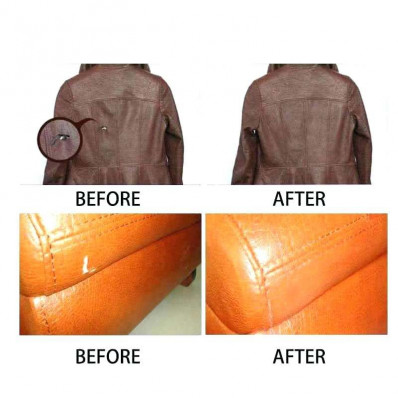
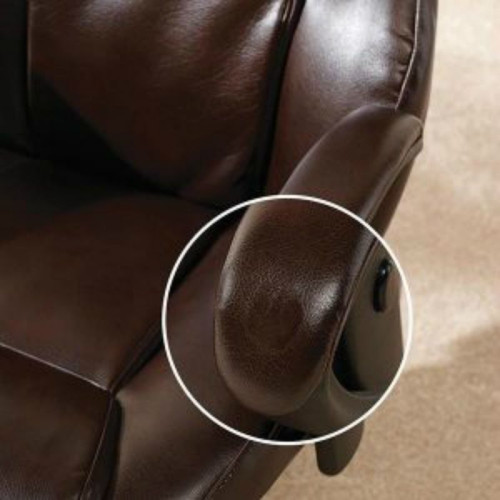
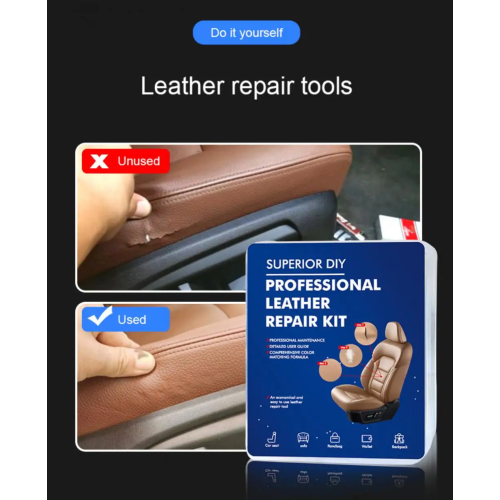
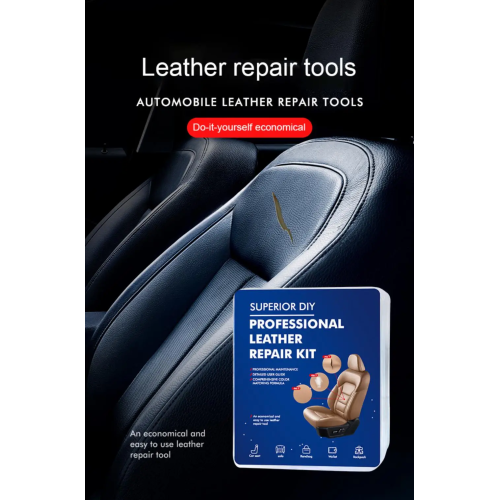
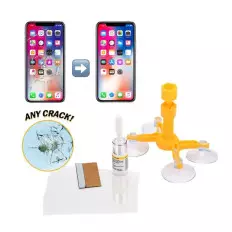
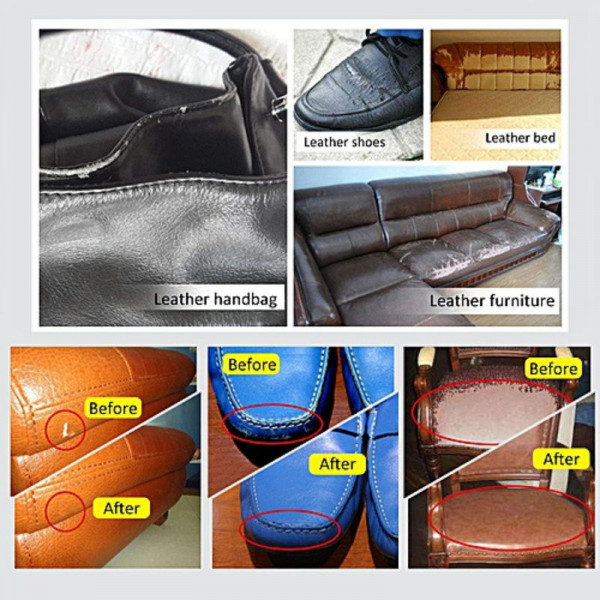
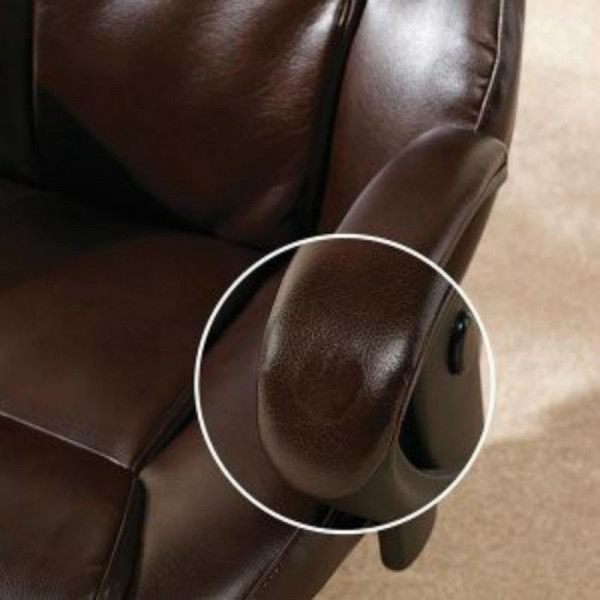
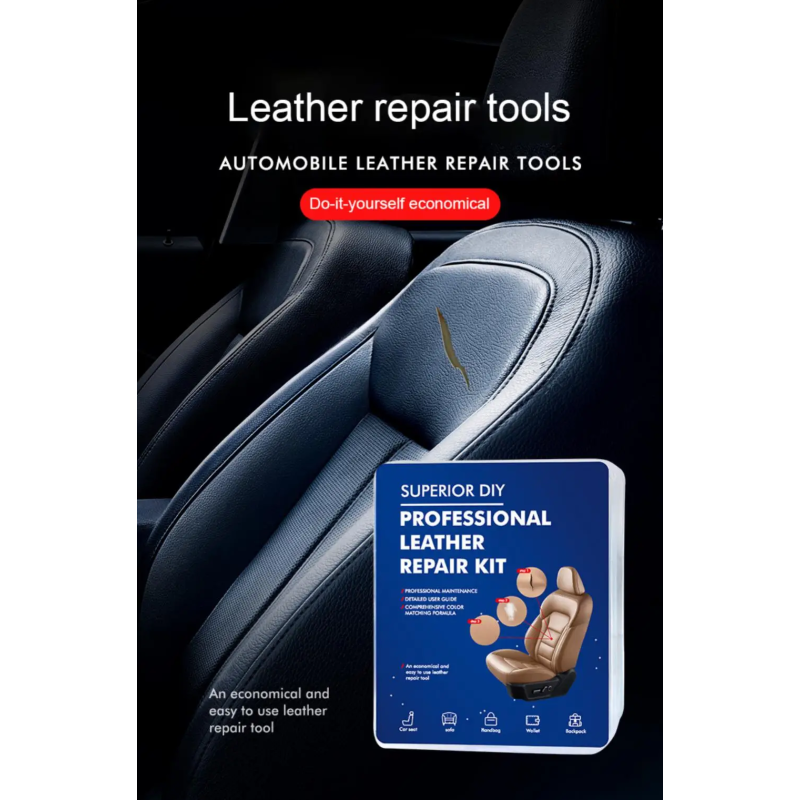
Small tears, signs of wear such as scratches and holes on your car seats or on your leather sofa? Not a problem anymore. With this DIY kit you can make almost all abrasions nearly invisible without spending a lot of money and time! It also works with eco-leather, vinyl, and synthetic leather (sky)!
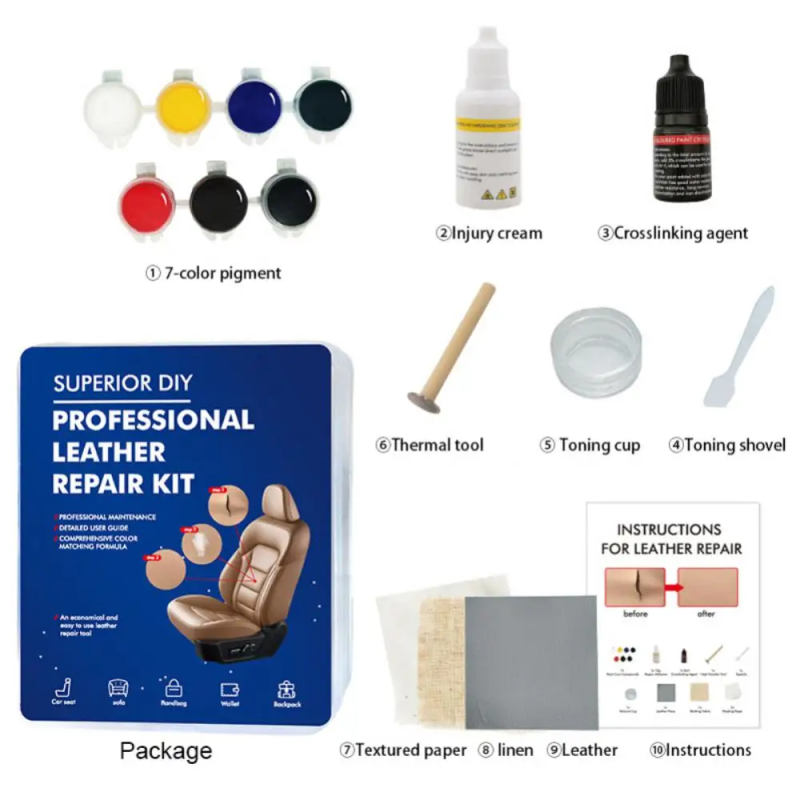
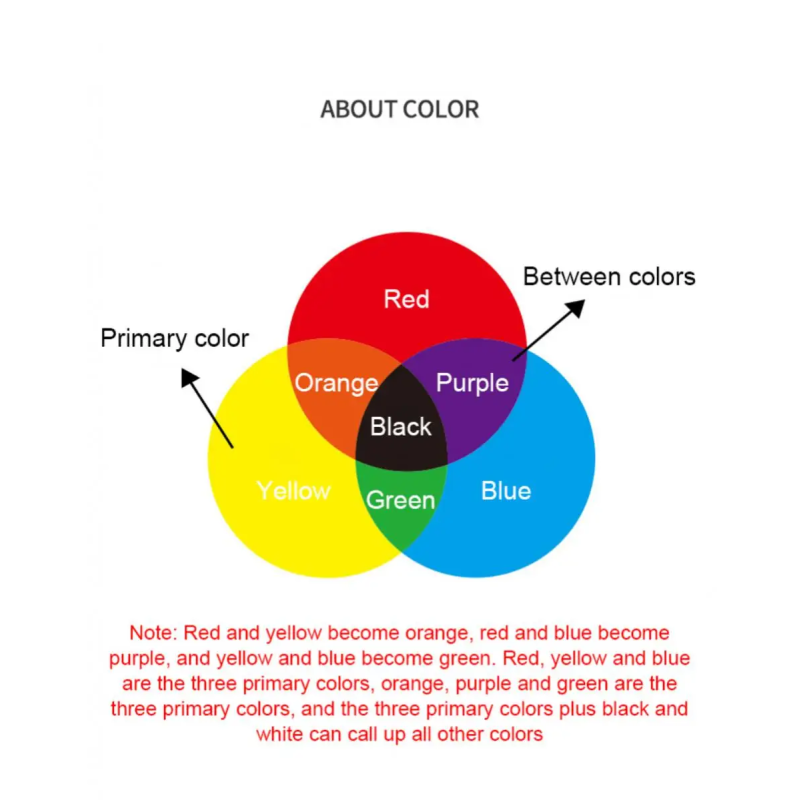
You can mix the 7 included colors to get the exact or closest shade to the repaired material. Simply follow the instructions included in the kit!
Instructions for use:
Read the instructions carefully and first test the repair on the supplied vinyl piece before performing the desired repair.
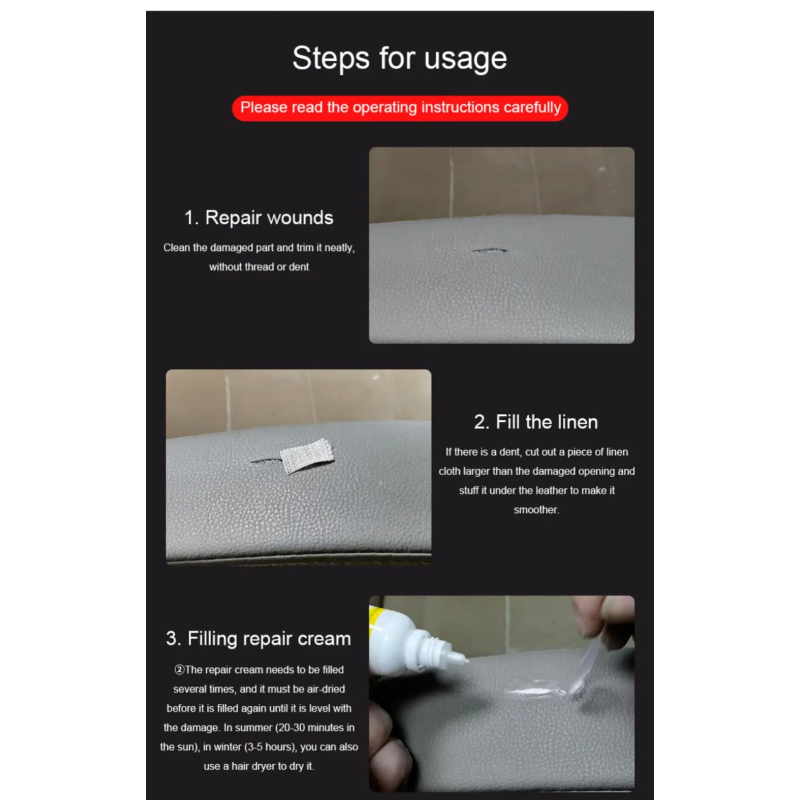
1. CLEAN – Thoroughly clean the damaged area with a normal cleaner (or alcohol). Remove all dirt and ensure the damaged area is clean, grease-free, and dry before proceeding. Smooth rough edges with a razor blade if necessary.
2. FILLING MAJOR DAMAGES – For larger tears, cut a suitable piece of cotton fabric (supplied or similar) and place it under the damaged area. For small cuts or abrasions, filling is not necessary.
3. APPLYING ADHESIVE – Use the supplied glue and apply with the plastic spatula. Fill the damage and level it. Avoid excess material. Drying time: 4 hours before proceeding.
4. COLOR MIXING – Mix the base repair colors to match the shade of the original material. Start with small amounts until the desired shade is achieved. Then prepare enough to complete the repair.
5. APPLYING THE REPAIR MATERIAL – Use the spatulas to spread the repair compound evenly and thinly over the damaged area. Remove excess material and smooth it out.
6. USING TEXTURE PAPER – Choose the texture paper most similar to the surface of the object, mark the top side with an X, place it on the repair compound, and press carefully. Do not move or remove the texture paper during the process!
7. USING THE HEAT PEN – Heat your iron to the maximum and warm the metal tip of the heat pen for 3-4 minutes. Apply it with slow circular movements for 35-45 seconds on the X-marked area. Let it cool before removing the texture paper. Repeat if necessary. For a shiny result, treat with vinyl wax; for a matte result, use steel wool.
Important: Keep out of reach of children!


